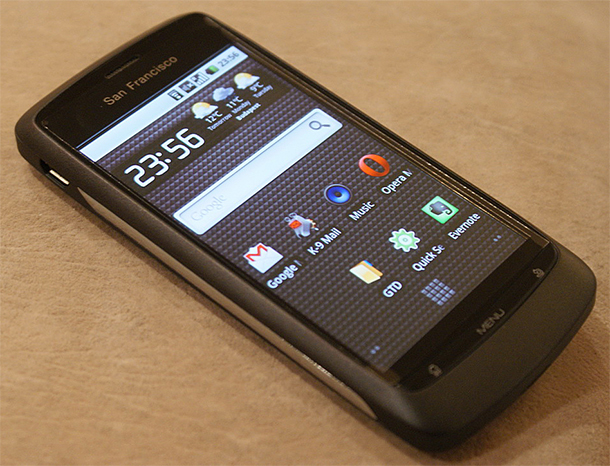
Refreshing Aging Android Devices: A General Primer
The first commercial Android handset, the HTC Dream (also known as the T-Mobile G1) paved the way for what came after it, yet by current standards it seems comically non-functional despite only being a little over 5 years old. The smartphone and tablet industry advances so rapidly that a flagship becomes a mid-range option after mere months and is forgotten soon after. The Dream was last updated only a year after its release. Could it have handled much more? It’s tough to say. But a lot of devices abandoned since certainly could have. Let’s look at the basic ways an old Android phone can be given a new lease on life.
Note: before we begin, you may want to familiarize yourself with some terminology here. I’ll cover as much as possible in the space available to me, but there’s always more to discover, so Google anything you’re unsure about or make use of the forums mentioned.
Rooting and Flashing
Through some software modification, you can introduce new functionality to a device that is no longer supported by its manufacturer. With hundreds of products across the world, it’s understandable that not every one has a thriving community working on it, but if a device sells well, it will most likely have some diligent coders porting features from newer models. Keep in mind before you begin that this risks both the device and the data held on it (though be reassured that the risks are, for the most part, very minimal), and that you may experience some crashes and bugs along the way.
The easiest way to start is to check the XDA Developers and/or Modaco forums. If there’s a listing for your specific device, go into the Android development section and check the stickied threads for a simple rooting guide. The chances are excellent that you’ll find an automated tool that will handle things for you once you’ve got your phone or tablet connected to a computer and the appropriate drivers installed.
Once you have root access, you’ll need to pick a ROM. Look for CyanogenMod or SlimRom variants as they generally offer excellent stability and extensive options. Having picked one, you’ll be offered a ZIP file for the ROM and possibly a ZIP file for basic Google apps. Installation will involve moving the files to the device, booting into the recovery software that was installed when you rooted it, and following the instructions in the rooting and flashing guide.
Making Room
A common issue with dated phones is a lack of storage space. Apps have become larger and more numerous in recent years and older handsets (almost entirely those running Android versions older than 4.0.1) are not equipped from the outset to handle it. If your device has a decent SD card in it, though, it should be simple enough to clear some space.
Start by going to Settings -> Applications -> Manage Applications –> On SD card and ticking whatever you can. If this doesn’t accomplish much, and you’ve successfully rooted the device, go here and install Link2SD. Run it, then cancel the pop-up prompt. If the options are all greyed out, reboot the device, then try again. If you can, tick the Dalvik Cache, then reboot again. If nothing has worked, consult the forum guides; there will almost always be some kind of solution accessible to you.
Changing Launcher
There are numerous launchers available for Android–many of them for free. If you want, you can spend hours trying them all until you find one to your liking, but if you just want something smooth and customizable, I recommend Nova Launcher; it has a paid component but works absolutely fine without it. Get it here, and then press the home button and choose Nova. It’ll even offer a widget to import the layout of your previous launcher. If you like Nova, press the home button and select it as the default launcher.
Generating Entropy
Sometimes your device will run applications well enough but you’ll experience odd bouts of lag for no apparent reason. This can be addressed with the Seeder application at the cost of some battery life. You can buy it here, but it is available on the XDA forums for free here if you know how to install APKs. It functions by replenishing the pool of random data Android draws from to create unique keys for ‘inter-process communication,’ as the description puts it. Technicalities aside, it seems to work for most people on new and old devices alike, with three options ranging in aggression. I have it set to moderate on a ZTE Blade running 4.3 and it’s impressively smooth.
Overclocking
If nothing else will do, you should be able to squeeze some extra performance from your phone or tablet by overclocking the CPU. If you’re running anything later than 4.2, you can go to Settings -> About phone and tap seven times on the Build Number until it says you are a developer. Go back into settings and tap on the new Performance option, then play around with it. Make sure not to set any values on boot until you’ve tested them for a while. On any other rooted version of Android, buy SetCPU here, and give that a try. Your device may crash occasionally or run a bit hotter, but it may well be worth it.

