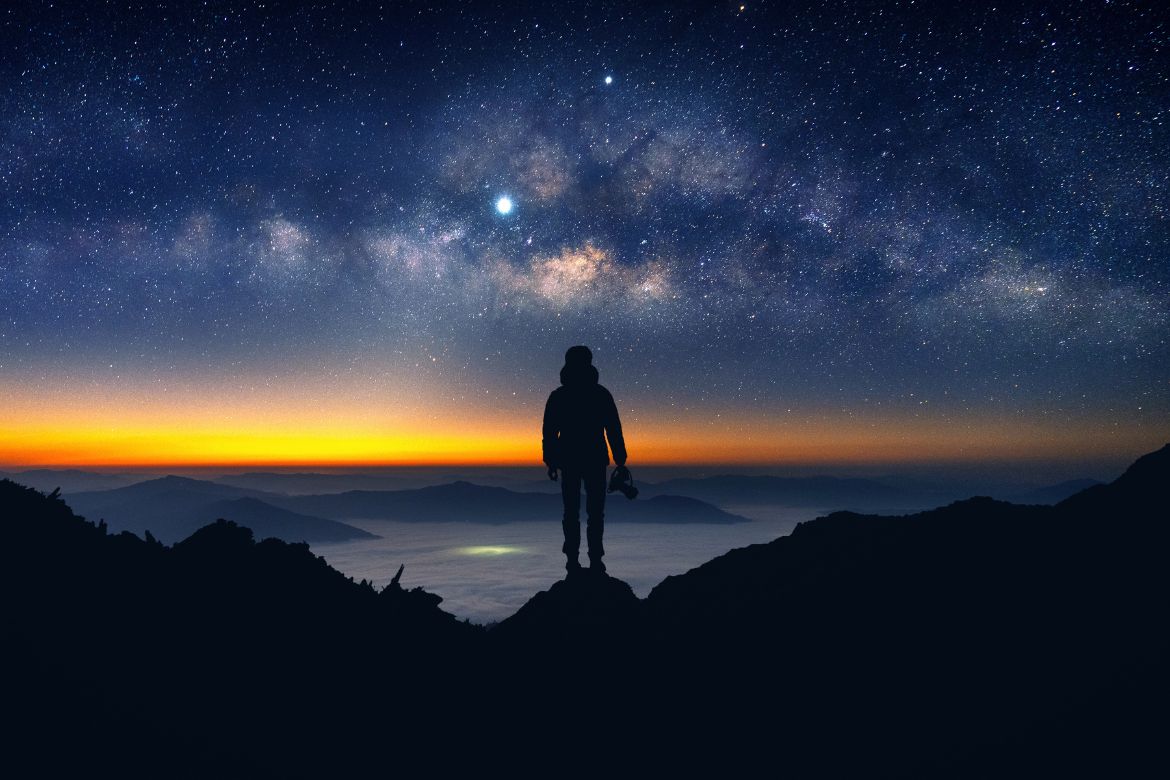
How To Properly Photograph the Night Sky
Are the stars and moon your muses? If you have yet to consider astrophotography, you may want to after reading our guide on how to photograph the night sky properly. Put your skills to the test and try your hand at this technique to create breathtaking images of the stars, moon, and anything else you can find in the sky!
Search for the Perfect Location
It’s obvious that you cannot engage in astrophotography until the sun is down and the stars are out—therefore, timing is essential to capture the richest images. Scout your location before the sun goes down so you can frame and position your camera correctly. If there are specific constellations or other elements in the sky you want to photograph, ensure you understand how and where to find them. Otherwise, you may slow down the process of capturing these celestial bodies.
Pro-Tip: find a location far from a city or town to prevent light pollution from ruining your photos.
Preparing Your Equipment
Capturing images of the night sky will require you to have suitable equipment readily available. You will need a camera with the option to adjust the ISO, shutter speed, and aperture settings—a DSLR camera is typically the go-to device for night sky shooting. We recommend mounting your camera of choice on a tripod to steady it; your images may not turn out well due to the shakiness of handheld mode. Choosing the right astrophotography lens will guide you toward crisper and cleaner images.
Photographing the Night Sky
In order to properly photograph the night sky, your camera must be on the correct settings, or your photos could turn out dark and blurry. On your DSLR, ensure autofocus is off so stars appear sharper, and set the white balance to daylight or tungsten. As for the settings mentioned in the previous segment, try an ISO of 800, 25-second shutter speeds, and an aperture of f/2.8.
As you capture images and look them over, you may need to adjust these settings to keep the skyline, stars, and moon in focus. Typically, the aperture can remain the same—any difference could blur your photo due to Earth’s rotation. We recommend experimenting with the ISO first.
Photographing the Moon
The moon is one of the easiest objects to photograph in the night sky because of its brightness. However, because the moon goes through multiple phases, there will be more light in the sky during a full moon than a waning crescent. Be familiar with the moon’s phases and wait for it to enter the phase you want to photograph.
This type of image composition requires different camera settings. A telephoto lens works perfectly in conjunction with a lower ISO, an aperture of f/11 or f/16, and a shutter speed of 1/60th. You may need to tweak these settings to fit your location and composition; either way, the moon is a great starting point for astrophotography.
There are many photography ideas to try, but the night sky offers a whimsical and luminous landscape for stellar pictures. If your first try does not pan out the way you intended, don’t give up right away! Practice makes perfect; the more images you take, the faster your skills will grow.

